



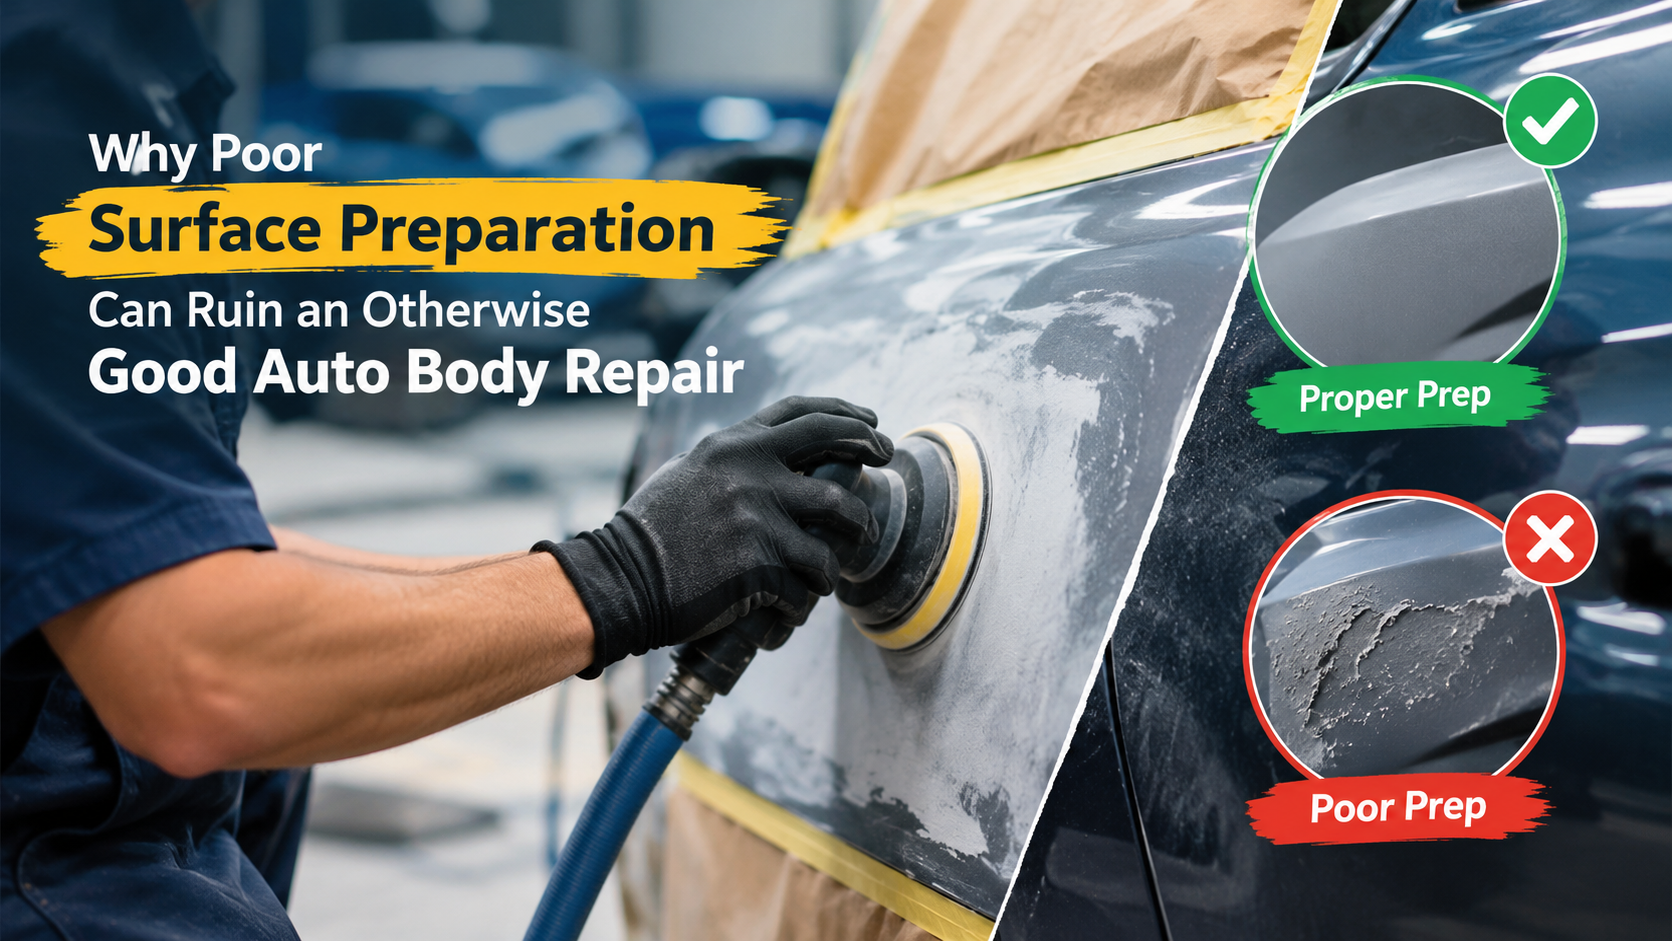
A perfect paint match means nothing over a bad surface. Technicians know this. Most customers don’t — until the clearcoat starts peeling eighteen months after a repair that looked flawless the day they drove off the lot.
Surface preparation is the unglamorous, unpaid-attention-to part of collision repair. It happens before the spray gun ever comes out, in the sanding, cleaning, masking, and priming stages that nobody photographs for the “after” shots. Skip steps here, and the repair fails from the inside out — slowly, invisibly, and almost always outside the warranty window.
The Ghost Line Problem: Why Featheredging Can’t Be Rushed
Dent repairs require blending the repaired metal into the surrounding panel through a gradual taper called featheredging. Done correctly, the eye can’t detect where old paint ends and new filler begins.
Done poorly, a ridge forms. Primer shrinks slightly as it cures, and that shrinkage telegraphs straight through the basecoat and clearcoat. Weeks or months later, under harsh afternoon sun, a faint outline appears across the door skin or quarter panel — a shadow the owner swears wasn’t there at pickup.
This isn’t a paint problem. It’s a sanding problem. Technicians who rush featheredging to hit a cycle-time target are borrowing against the finish’s long-term appearance to save twenty minutes today.
What proper featheredging requires:
- Multiple grit stages (typically 80 to 320 grit), each one removing the scratch pattern left by the coarser grit before it
- A taper extending several inches beyond the actual damage, not just the visible dent
- A guide coat to reveal low spots and high spots before primer ever touches the panel
Any autobody repair shop in Cortlandt worth your trust will walk you through this stage without being asked. It’s not a flashy part of the job, but it’s the part that determines whether your repair looks good for five years or five weeks.
Contamination: The Invisible Killer of Clearcoat Adhesion
Paint doesn’t fail randomly. It fails because something was on the surface that shouldn’t have been there.
Silicone from dressing products, wax residue, road film, even oils transferred from bare hands during panel handling — all of it interferes with adhesion. The result is fisheye, a cratering defect in the basecoat that looks like tiny craters opened up mid-spray. Or worse: a bond so weak the clearcoat separates from the basecoat entirely, usually revealing itself as bubbling or peeling long after the vehicle left the shop.
A thorough wax-and-grease remover pass, done twice — once before sanding, once immediately before primer — catches most of this. Skipping the second pass is one of the most common shortcuts in lower-volume shops trying to turn cars faster. It’s cheap insurance against an expensive comeback.
Auto body paint repair done right treats contamination control as a checklist item, not a judgment call based on how the panel “looks clean.” Visual inspection alone misses silicone residue every time. That’s why reputable shops use tack cloths and solvent wipes as a final step regardless of how the surface appears.
Dust, Debris, and the Booth Environment
Even a perfectly prepped and cleaned panel can be ruined in the final sixty seconds — inside the booth itself.
Poor filtration, inadequate air pressure balance, or a booth door left cracked during spray-out lets airborne particulate settle into wet clearcoat. The texture that results feels gritty under a fingertip, almost like fine sandpaper, and it’s visible under raking light at certain angles.
Fixing it after the fact means color-sanding and buffing the clearcoat down to a smooth plane, then polishing it back to gloss — assuming there’s enough clearcoat thickness left to safely remove material. If there isn’t, the panel gets repainted. Either way, it’s labor the shop didn’t plan for and the customer shouldn’t have to notice in the first place.
Booth maintenance isn’t optional overhead. Filter changes, pressure calibration, and spray-out scheduling around high-traffic shop hours all factor into whether that final coat lands clean.
Why This Should Change How You Choose a Shop
Searching “best collision shop near me” will surface a dozen options within a ten-mile radius, most with similar turnaround promises and similar-looking before-and-after photos online. Photos don’t show prep work. They can’t.
What separates a durable repair from one that’ll need redoing in two years isn’t the paint booth’s brand name or the color-match software. It’s discipline in the stages nobody sees — the sanding sequence, the solvent wipe count, the booth filtration schedule. Ask pointed questions before you commit:
- How many grit stages do you run during featheredging?
- Do you wipe panels with solvent before and after sanding?
- When were your booth filters last replaced?
A shop that answers these without hesitation has nothing to hide. One that gets vague or defensive is telling you something too.
Ask any autobody repair shop in Cortlandt how many sanding stages they run before primer goes down, and you’ll learn a lot about their standards — more than any warranty brochure will tell you.
Spectrum, an established name in the regional collision repair space, is frequently cited by technicians as an example of a shop that treats prep stages as non-negotiable rather than optional upsells. That reputation isn’t built on marketing. It’s built on repairs that still look right years later.
Spectrum Auto: An Example of Prep-First Standards Done Right
Spectrum has built its process around the understanding that paint is only as good as what’s underneath it. Their technicians document featheredging stages, run contamination control as a standard step rather than an exception, and maintain booth equipment on a fixed schedule rather than a reactive one. For vehicle owners evaluating repair quality rather than just estimate totals, that kind of operational transparency is worth paying attention to — not as a pitch, but as a benchmark for what a properly run shop should look like.
Frequently Asked Questions
- How can I tell if my repair had poor surface preparation before problems show up?
Early warning signs include faint ridges or shadow lines visible in direct or raking sunlight, a slightly rough or gritty texture under your fingertip on the repaired panel, and any cloudiness or dullness that wasn’t present on the surrounding factory paint. These often appear weeks to months after pickup, not immediately.
- Does a higher repair estimate guarantee better surface prep?
Not necessarily. Price often reflects parts cost, labor hours, and paint material grade more than it reflects prep discipline. The best indicator is a shop’s willingness to explain their sanding and cleaning process in detail, not the number on the invoice.
- How long should a properly prepped and painted repair last before showing any wear?
With correct prep and quality materials, a collision repair should hold its finish — no peeling, cracking, or visible ridge lines — for the life of the panel under normal conditions, comparable to factory paint durability.
- Can poor surface prep be fixed after the fact, or does the whole repair need to be redone?
It depends on how bad the damage’s how much clearcoat is still left. Small texture problems from stuff getting in the paint booth can often be fixed with color-sanding and buffing.. If the paint is peeling or pulling away from the surface that’s an adhesion failure. In those cases you usually have to strip the panel back down, to bare metal and start over from the primer stage then repaint everything from there.
About The Author